
 Lantern"/>
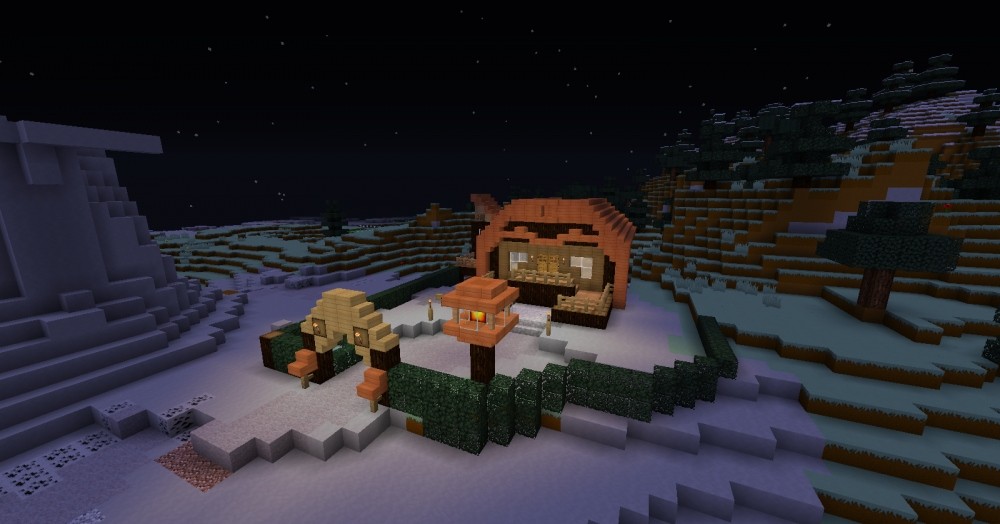
A simple, yet pretty lantern for everyday use.
You've always wanted to have a pretty lantern in your garden, but you've always failed with the design? Then this lantern is just the thing for you! Easy to farm resources will give you light, imposing terrain and astonish your friends... Well, provided that your friends are Minecraft beginners. In any case, this lantern looks very good in gardens of your house (with resource pack):
But you can also use the building technique on paths, city gates and much more!
Have fun trying it out!
Instructions:
You want to know how to make a lantern like this?-Here's a little how-to: The screenshots of this tutorial were made with a resource pack, but hopefully the explanation is still easy to understand!
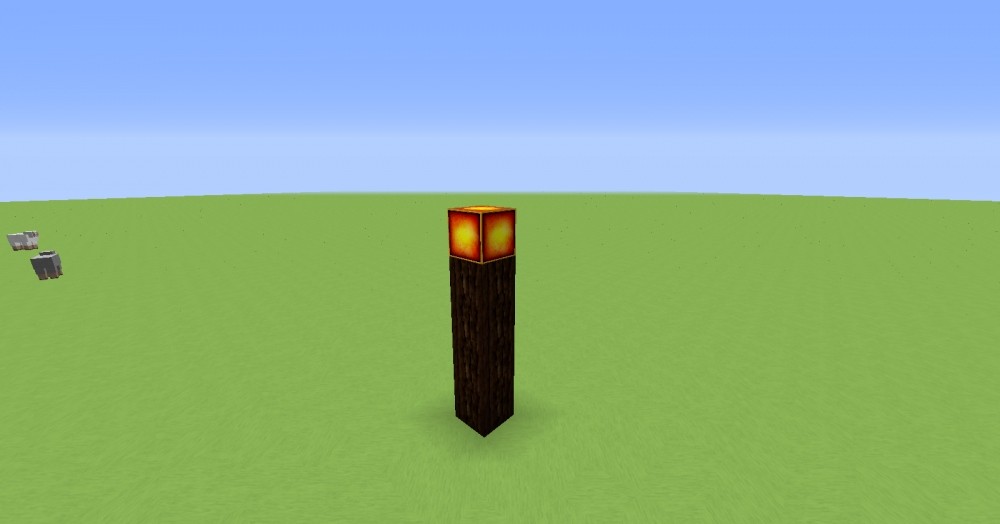
[*]Step one: Build a pole out of 4 wood(minecraft:log), wood choice doesn't matter. In my screenshot I used spruce wood.[/list]
[*]Step two: Put a glowstone(minecraft:glowstone) on it. Alternatively you can use a redstone lamp(minecraft:redstone_lamp) or a torch(minecraft:torch), but with a lamp you need a redstone signal to turn it on![/list].
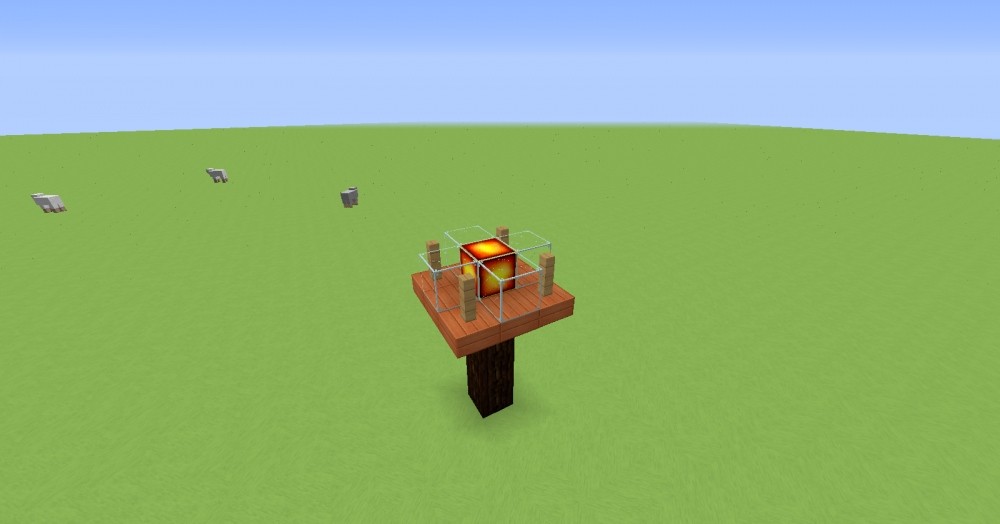
[*]Step Three: Place inverted stairs on the top of the wood around the outside, so that the corners around the wood block are also filled with them. Again, the choice of wood doesn't matter, though you should make sure there is contrast between the log and the stairs. In my screenshot, I used acacia wood stairs.[/list]
[*]Step four: Put fences on the corners of the upturned stairs, same thing here: which wood, you decide! In my snapshot, I used oak fences.[/list]
[*]Step Five: Put glass(minecraft:glass) on the remaining stairs. Here the color doesn't matter, but a light or the normal glass lets the most light through! In my tutorial I used the normal glass.[/list]
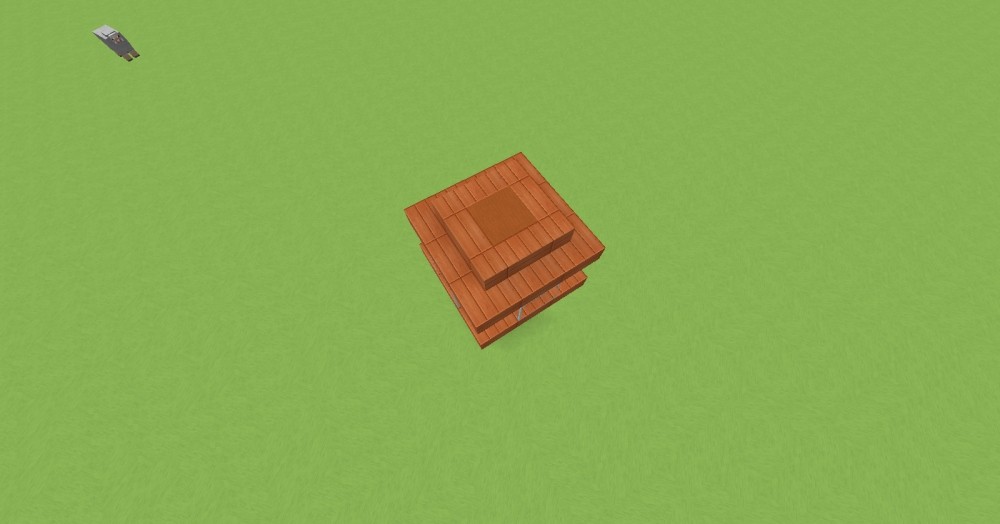
[*]Step Six: Set stairs once around the center, forming a circle again. So repeat the circle of the old stairs, only this time 2blocks higher(y) and the right way around.[/list].
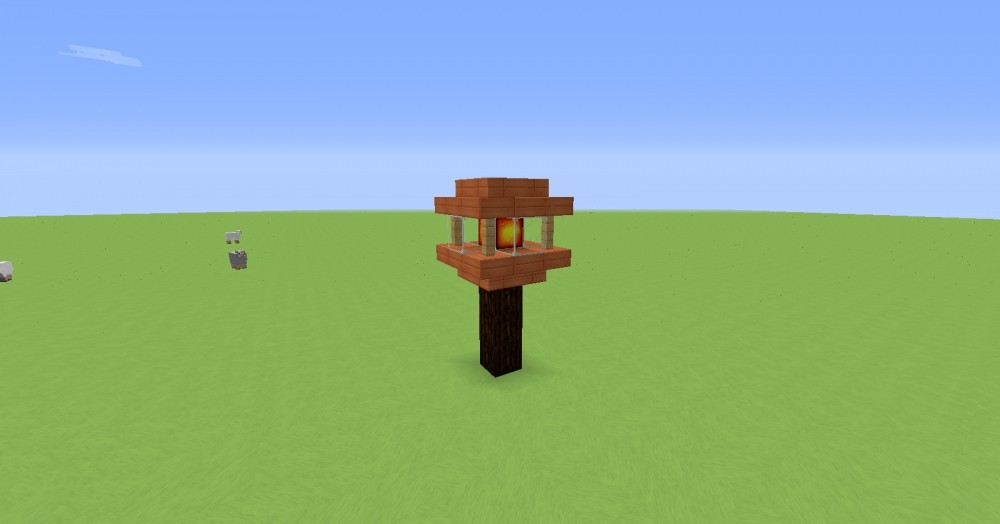
[*]Step seven:Since you should now have a gap in the middle, directly above the light source, and that doesn't look very nice from above, you can optionally select a block of your choice to place it there. Whether this is transparent for light or not is your choice. In my tutorial, I chose orange colored clay(minecraft:stained_hardened_clay), because this - at least in my resource pack - looks good compared to acacia wood stairs.[/list].
Instead of the wood for everything you can of course take other materials to use for example with cobblestone(minecraft:cobblestone) lava(minecraft:lava) as a light source! - You would then do that with cobblestone, cobblestone stairs(minecraft:stone_stairs), nether brick fences(minecraft:nether_brick_fence),glass and the random block.


In itself very good, well explained but the lantern looks kind of funny 😀
Like
Actually a good idea I haven't thought of yet, however this lamp is very large, 3×3 blocks are not suitable for everywhere as it takes up quite a bit of space. Incidentally, I am not a fan of acacia wood, but still Like!
What resource pack are you using?
@Gamegirl: I use the CraftingFabo PvP pack - TheFabo's. Just search it on YouTube 🙂
^^ good idea, great execution.
The idea is good
but aren't TXT Packs actually REFUSED ?
Right. But I wrote this extra to it. Also, the image for recognition (the main image) is in the default and I could have omitted the description and the instructions, then it would not be a pack^^
Yes, normally you SHOULD turn off the texture pack already. However, I find it O.K. with, because the main image is normal.
@PlayLikeFabian
I would add to the description which TXT pack you used.
Good idea:)But when I built it was bigger than on the picture
LIKE