

This passenger lift for two floors works reliably and is easy to assemble.
This elevator is perfect for installation in a villa or a larger house, it will also make a good impression in small shops. In addition, it can be expanded as desired. It is easy to assemble the elevator and once finished it will give a lot of pleasure.
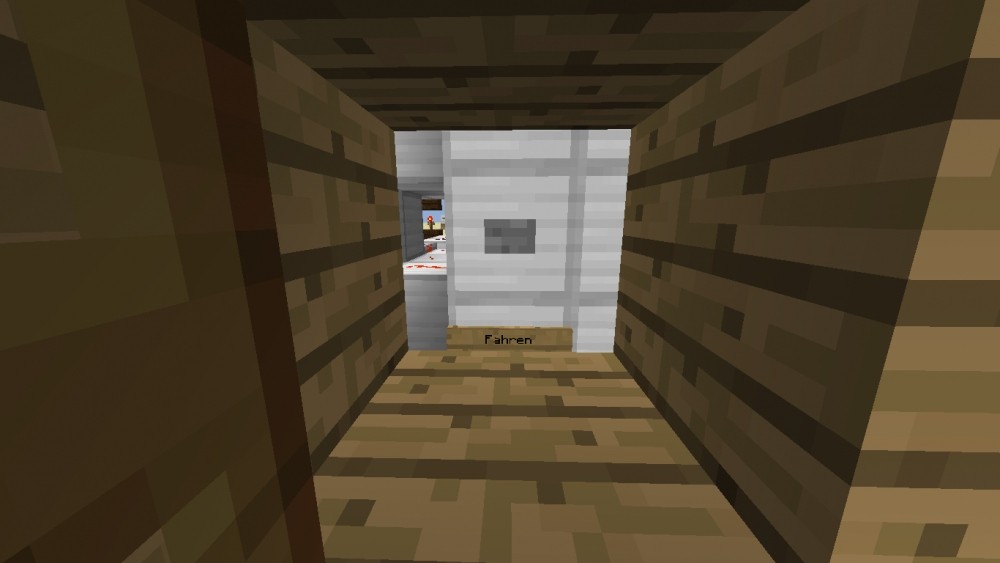
The elevator can go to a maximum of two levels and does not need a clock, so it is also suitable for weaker PCs. The good piece also has a call function. The control is done by two buttons on the right side of the elevator.
Here you have some pictures:
Here the elevator from the side
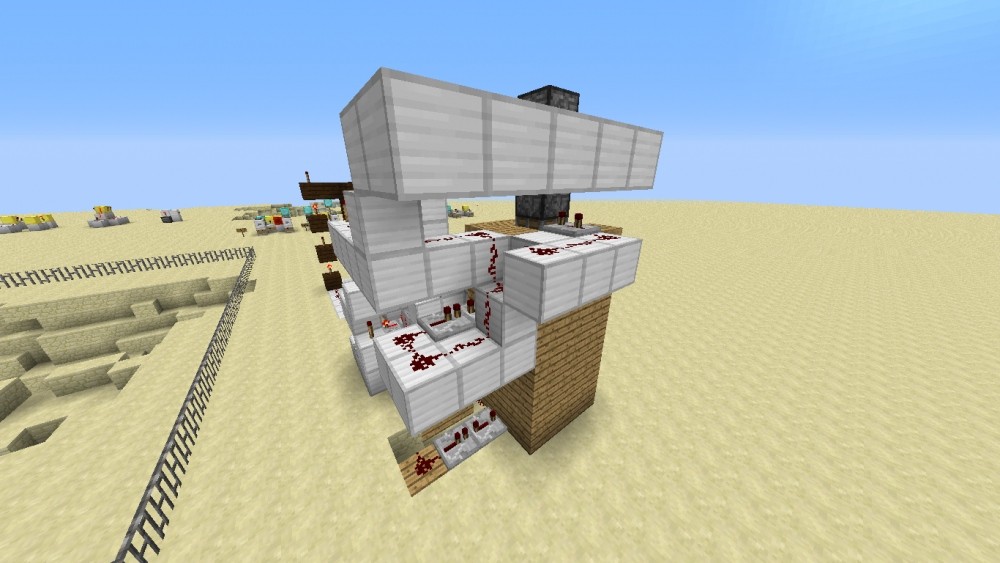
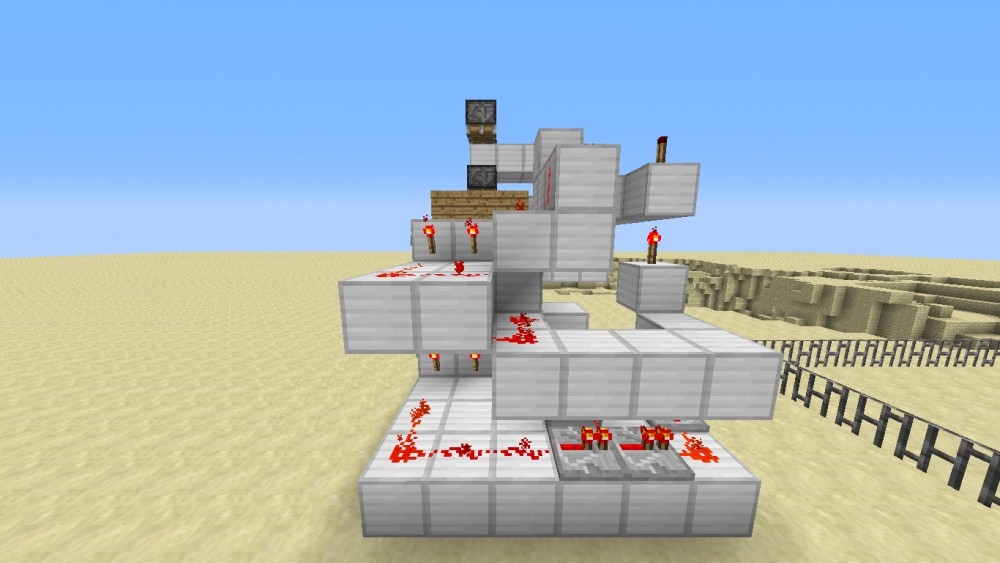
The circuit under the elevator
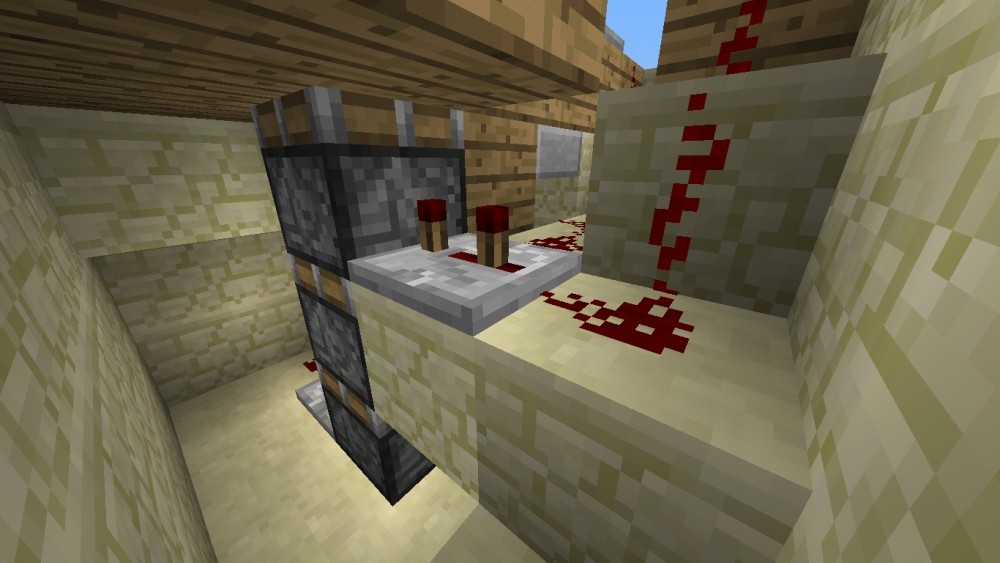
The button that takes you to the next level. It is installed outside the elevator, but can be operated from inside.
Here is the call button that will get the elevator if it is not on the right floor.

Here the circuit from behind...
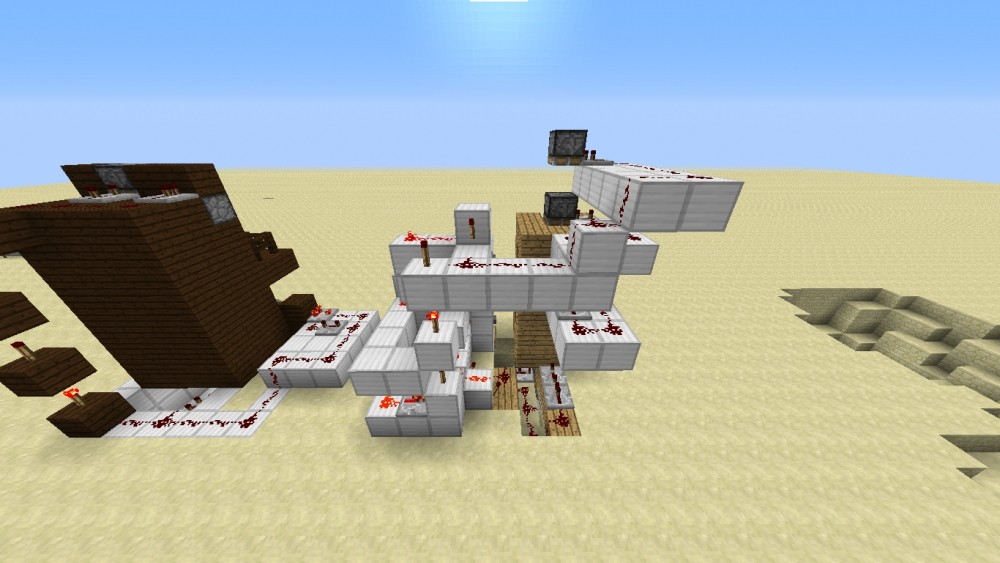
...and here from the side
Instructions:
The elevator is relatively simple to build, first you dig a 3x3 block large field. Then dig this into the depth, depending on how many pistons you want to use. In the instructions three pistons are used.Now you build the cabin with a block as the floor and two blocks back wall, then a block as the roof optionally you can attach a lighting here at a higher elevator. Now attach the pistons on top.
In front of the wall now come two trapdoors, these are used for shifting, without them the elevator gets stuck unexpectedly and can even be fatal!!!!
Now it's on to the pushbuttons build a 2x2 wall and install two switches as well as the signs.
Left sign: Driving; Right sign: Calling
Behind the wall, place two Redstone flares. Now it's time to get down to business.
Lay a line from the Redstone flare connected to the left switch to the lower pistons.
Don't forget to invert them in between.
The delay is:
From bottom to top
Piston 1: Stage 1
Piston 2: Stage 3
Piston 3: Stage 4; Stage 1
For each additional piston the delay is +2.
Now do the same with the upper pistons, connect them with the call button.
Make absolutely sure that the lines do not get in each other's way.
Now you can go up and down. Almost done, now you still attach the buttons on the upper floor and do the same as before, only in reverse, the call button is now connected to the lower pistons, etc....
Again, make sure that the lines do not overlap.
As height transmission you can use any circuit. I use Redstone flares, these are delayed, but this is not important, because the elevator does not require high accuracy, unlike the paternoster, where everything must be exactly right.
And one more thing: Keep in mind that the pistons shift, because that's how you have to set the boosters, otherwise the elevator will get stuck.
Are there any questions??? Use the comments.


MY QUESTION:
does it work online?
many, or actually all lifts that push you back and forth have the "bug" problem
Yes, especially very modern ;D
Online:Yes.
It's best to put a boat or a lorry in the lift.
Oh yeah, from Redstone's point of view: Eww.... Is that bad!
You just call that
@thebigsmileXD: I didn't write anywhere that this one was modern. And no, a boat or a lorry sucks and is cheap, hence this lift, which is also realistic. Because hydraulic elevators exist in reality too, but of course they only have a bar at the bottom 🙂 .
And from a Redstone perspective, it's simple. I didn't build it this complicated on purpose.
@MalteaufPS3: Yes, it's simple. What is it that you don't understand?
@Snuffer: This elevator should also work online, because it does not need a clock. Therefore no high accuracy is required.
That was sarcasm.... -.-"
I just rebuilt it. Works, actually. Runs also on servers.
@thebigsmileXD: Sorry, but I don't quite get sarcasm when there are no smileys to possibly show it. But never mind. Thanks for recreating it, you can also move the buttons one block closer to the elevator, then it's more realistic, you can expand it as much as you like 🙂 .
Have fun with it.
Did you have a little fun with TNT in the background, like Minecraft beginners? 🙂
Hello,
no there I tried my luxury launcher, and tested my TNT gun.
Why would I blow it up senseless? These are all test runs.
I can not understand the bad reviews. Either one is too stupid to rebuild the or is just jealous.
@RedstoneKing200 unfortunately there are many more compact versions nowadays, and with "too stupid" you could possibly be right... I would rather say "too lazy" though
@thebigsmile: Yeah, it is but why is it rated poorly just because you're too lazy to recreate it? That's unfair.
@RedstoneKing500 Because people think less work is better.
@PlayLikeFabian I will take Too Much TNT :D.And then the Global Disaster TNT or the Meteorite TNT.
it is a hard system to build such a great praise
*elevator
PS: think there should be a better description.
*one
test
gg