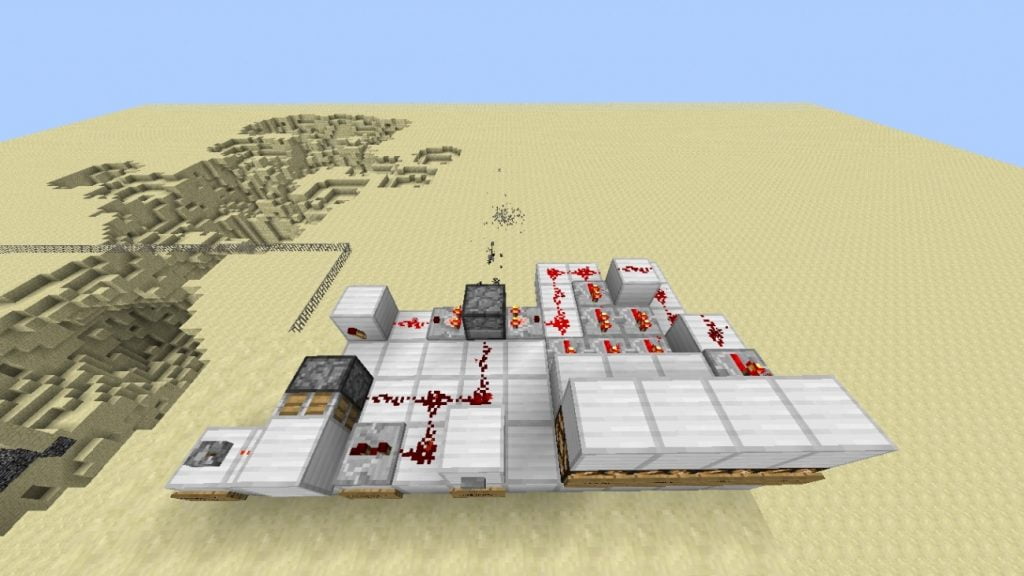
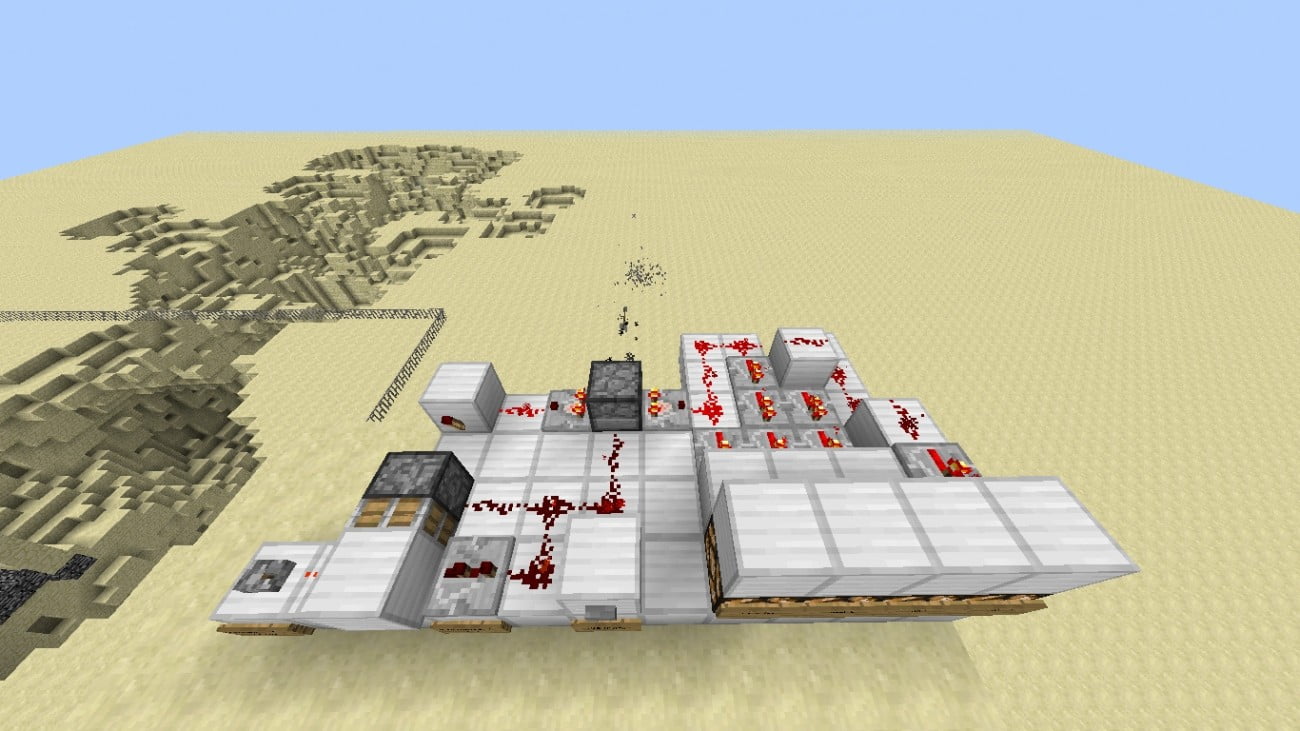
This versatile launcher for shooting arrows or ignite TNT offers pure luxury. It has a level indicator, an automatic stop system and it can be fired manually or automatically.
This beautiful automatic spotlight offers pure luxury.
Possible applications
The automatic launcher is great for protecting yourself from enemies by loading it with arrows.
Plus it can be filled with TNT and they don't have to dig a hole 🙂 .
It can also be connected to hoppers, and e.g. dispose of waste, etc.
Functions
The machine is easy to operate:
The left lever switches the automatic mode on or off.
The speed can be adjusted in three steps on the amplifier.
The button ensures that items are ejected one at a time.
4-segment charge display
The charge indicator with four Redstone lamps shows you how much charge remains.
There are 4 levels: Almost empty, Low, Medium and High.
Autostop function
When no load is left, the Autostop circuit disables the clock.
It is gentle on the PC and the machine does not run superfluously.
Autostart function
If no load is inserted, but the lever is in the "On" position, after a new load has been inserted, the following is automatically done
moved on.
Plenty of space for loading
You can fill a maximum of 9x 64 items. With funnels and a chest, the fill level can be expanded.
Interference suppression function
If there are any problems, the launcher can be easily debugged with a button.
This automatic launcher should not be missing in any castle, fortress or war facility!!!
Optionally, a fancy case can be attached.
Optionally, a sound signal can be attached when the load is empty.
For more info please use the comments!!!
Have fun rebuilding it.
Instructions:
The assembly is not as complicated as it looks. The picture shows everything well, but I'll go into it again anyway.Step 1
First you build a tower or use the one where the automatic launcher should go in!
Step 2
Remove the iron blocks from the picture as well as the sticky piston and the launcher from the picture!
Step 3
Set up the Clock by placing a lever on the far left, and next to the block held by the Sticky Piston, place a Level 2 Amplifier connected to the Kolebn. Put a sign under the lever: "Automatic launcher on/off"!
Step 4
When the clock is set up, it is connected to the launcher! To the left and right of the launcher should sit comparators.
Step 5
Connect the left comparator to a block with a redstone flare pointing to the piston, the line must be no more than one block long, otherwise the comparator will activate the flare too soon and the clock will stop even though there is still charge left.
Step 6
Behind the lever, place a switch on the block on which the piston sits. Next to the switch you put a sign: "Disable". Then put another switch next to the amplifier and the sign "Manual control"!
Step 7
Insert the Redstone lamps as shown in the picture and wire them as shown in the picture. It must match exactly. The amps should not be delayed and the wires should not get in each other's way. The hole at the back left, is not a hole but here the wire is one block deeper, so it won't connect. Finally, label the charge indicator from left to right!
Almost empty, Low, Medium, High.
Step 8
Load up the launcher and let's go!!!
If there are any problems, please post in the comments and I'll help you out.


 Variable luxury automatic headlight"/>


das ost wirklich geil und funktioniert super das gibt eine fetten like
@TheTroller: Thanks, glad you like it. Getting the charge indicator calibrated properly wasn't even that easy. Yes, the clock is very reliable. Usually it would be done with that, but the extra features just make it even more awesome 🙂 .
Have fun with it.
Works perfectly. Thick Like for the circuit!
@thebigsmileXD I agree.